Low Cost Pier Project
If you have already read about the design of the BLT observatory you will know that one of my design decisions was to have relatively high walls to keep out stray streetlights and stray light from neighbouring houses. The effect of this is that it limits my low altitude observing. To counteract this I am embarking on a low-cost external pier project to run a small set-up akin to a travel rig alongside the BLT, utilising equipment that does not live in the BLT and would otherwise be waiting for a trip away. The aim is that this stops me missing great views of the moon and planets when low in the sky.

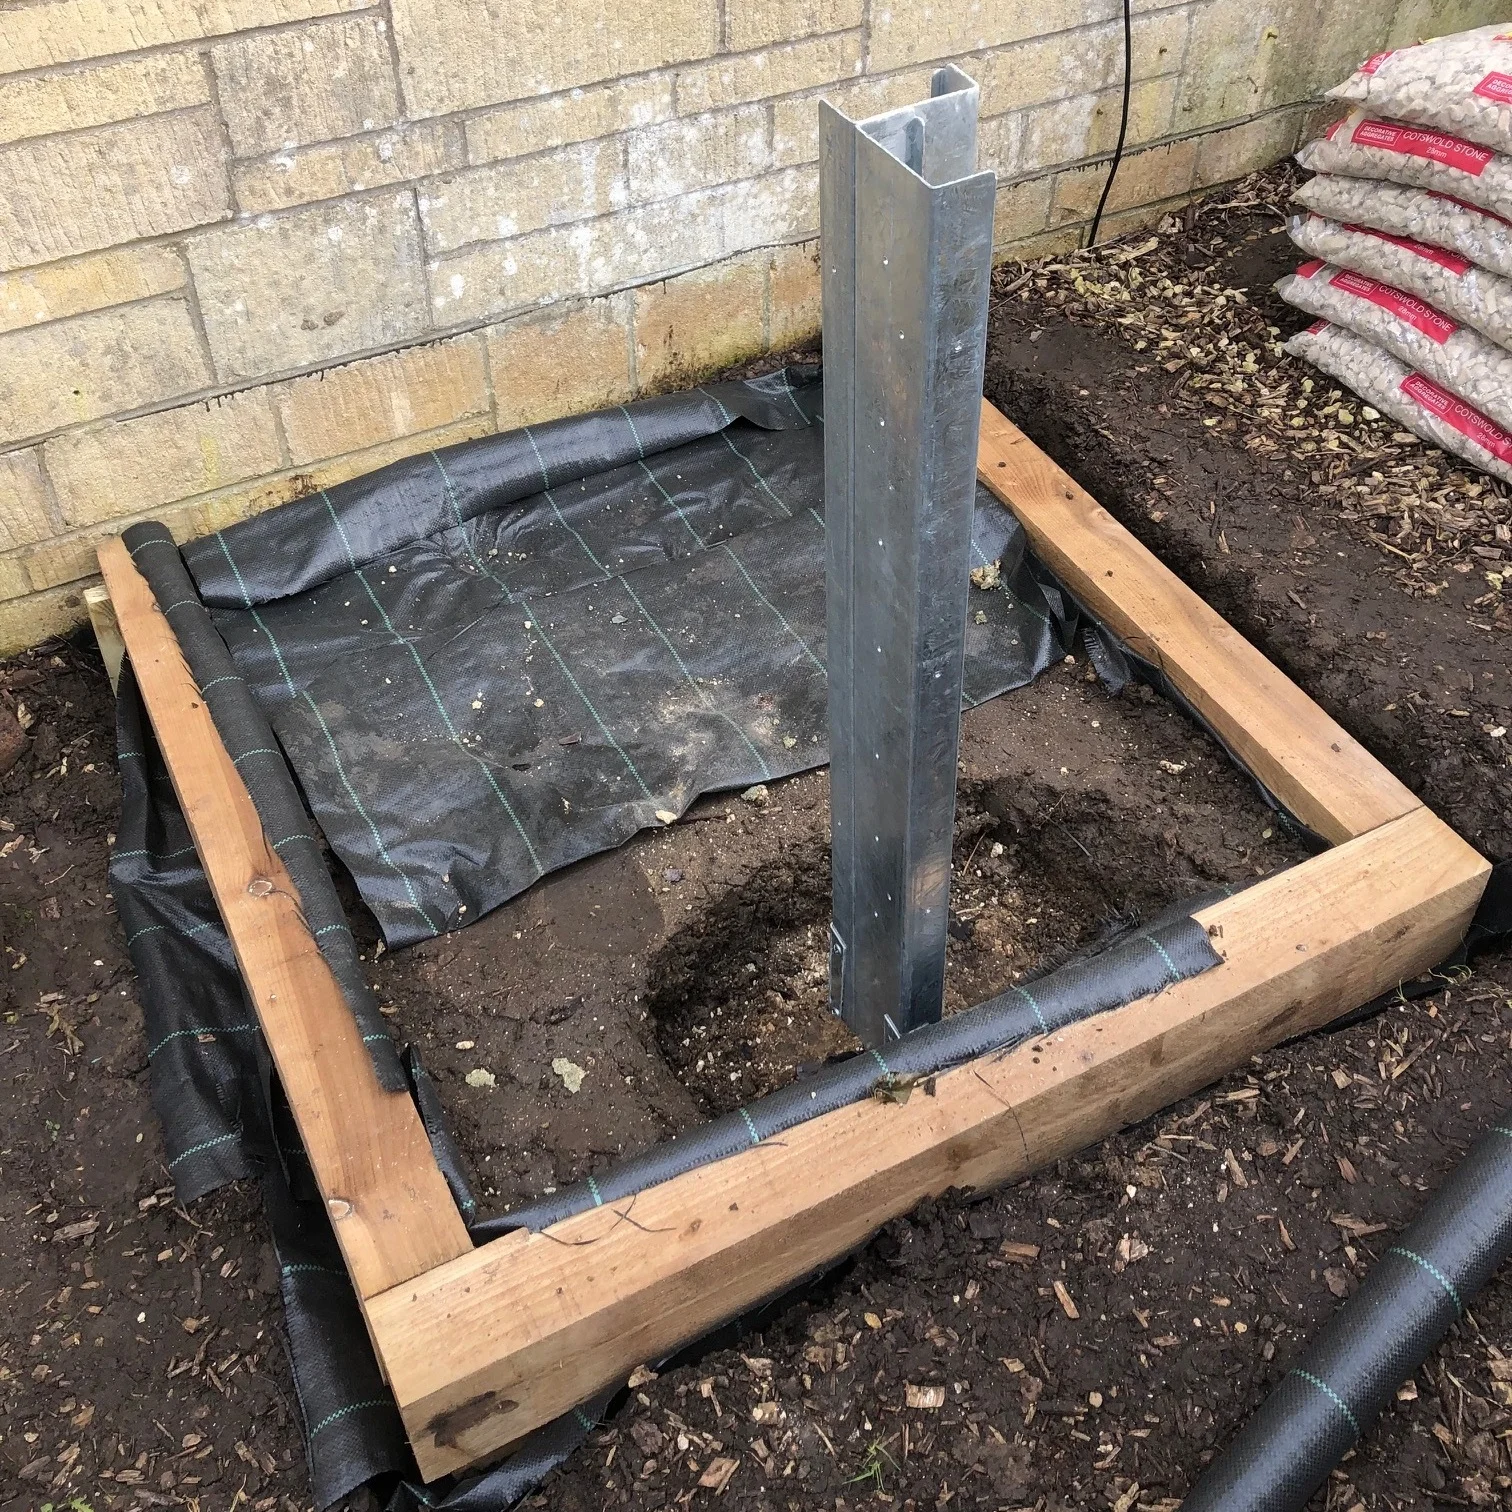
Marking out a base area
The Base
The site of the pier will be beside the BLT, but offers only selective views; to the south just past the meridian and north to Polaris. Oh and up! The east and west views are obscured by the BLT and the garage. This is fine though; it allows accurate alignment and then low southerly views.
You see from the image that one side of my site directly abuts the garage wall. I plan to run some power out of the garage like with the BLT (black cable visible on the image top right).
I used three B&Q sleeps c.£15 each to form a rectangle, jointed with galvanised angles at the corners (£3-4@) and some weed protection membrane.

My low cost pier post, £39 with 3x spiked feet
The Pier
My local Homebase store has a selection of proprietary galvanised posts that form some sort of fence/wall kit. Thought this would make the perfect central post for my pier. I bought a section that has two C channels welded back to back; one would then be screwed into a timber posts and the other created a vertical slot for cable management. The post cost £28 and the three vertical spikes were a couple of quid each. The steel post is very rigid.
I couldn’t be bothered with the effort and permanence of a concrete base. I’ll only be running a light rig so I’m hoping that rock solid foundations shouldn’t be needed, just sturdy enough. My soil is thick and clay based. I planned to try and whack it in as far as I could and then do accurate levelling and north pointing afterwards.
Using metal drill bits and a powerdrill, I drilled a series of holes into each side of the pier so I could attach the spikes at the base, and later fix some cladding around it.
Bang & Wallop
I wondered for how long and how hard I would have to hit it? Not very long and not very hard are the answers.
Having stood the thing up (as far west as I could) I gave it a first tap to get fairly straight, then using a concrete block gave it a couple of good whacks. After 1min I had a pretty solid pier, around which I refilled with soil and trimmed around the weed protection.
The image shows the back to back C arrangement and once in the ground it stood around a metre high.

Central Post
Using a 70mm square fence post (c.£8) and fence post base (£10) - this time from B&Q - I screwed the inverted post into the web of the channel and using the holes drilled in the side, fixed it snugly in place. This post gives me the option of height adjustment before I clad it.
The post base plate provides a good flat surface for supporting the mount. Nothing is yet aligned north so the next ‘layer’ on top will need some fine tuning adjustment for both line and level and compass direction. Laying my iPhone on the top at present it is only 1 deg off level, so I was pretty accurate despite my agricultural techniques.
What are we aiming for?
I keep changing my mind over what lives on top…a small equatorial mount that is polar aligned (definite)…but should I include counterweights, counterweight bar and scope or add these on when I need them? I want to fashion a secure and weatherproof cover for the head of the pier, so the more stuff that lives on the pier, the larger and more complex the cover becomes.
I am tending towards simply the mount head remaining fixed and I bring out the scope, bar and weight then light it up. Indeed, I may just use it for a DSLR and wide lens, which means the accuracy of everything can be a little more relaxed. The resulting shape would be easier to clad; be it a purpose made box, an upturned bin, or some found item re-purposed for astronomical needs. I have some ideas but have not yet committed. The shape of this lid with directly influence the shape of the base board that the mount will sit on. For now, I need to do some more designing and will pick this up once I have made some further progress.
PS. Cost to date is £110 and the base/pier prep took around 3 hours (mainly digging and pre-drilling the post).
a few weeks later…

Protective Cover
I rooted around the garage and found our old kitchen bin, a white Ikea number. It was the perfect size to house the mount when upturned. It had a matching lid which could form a base once the lid flap was removed. It would need a rain cover to stop water running down into the lid, but otherwise was a good fit for what I needed. Using off-cuts from the BLT, I made a base plate to fit inside the bin lid so I could mount this new ‘base’ onto the top of the pier. The four bolts in the corner of the upturned fence post base would give me the necessary adjustment to get everything square and level.
Mount Base
These next two images show the view above and below. From underneath we can see the four corner bolts to give the ability to level the base, and shows the timber insert into the old bin lid opening. I know 18mm OSB isn’t the greatest outdoor material and it may warp a little over time, but it shouldn’t get wet which is the main culprit and I always have the ability to re-level everything if necessary.


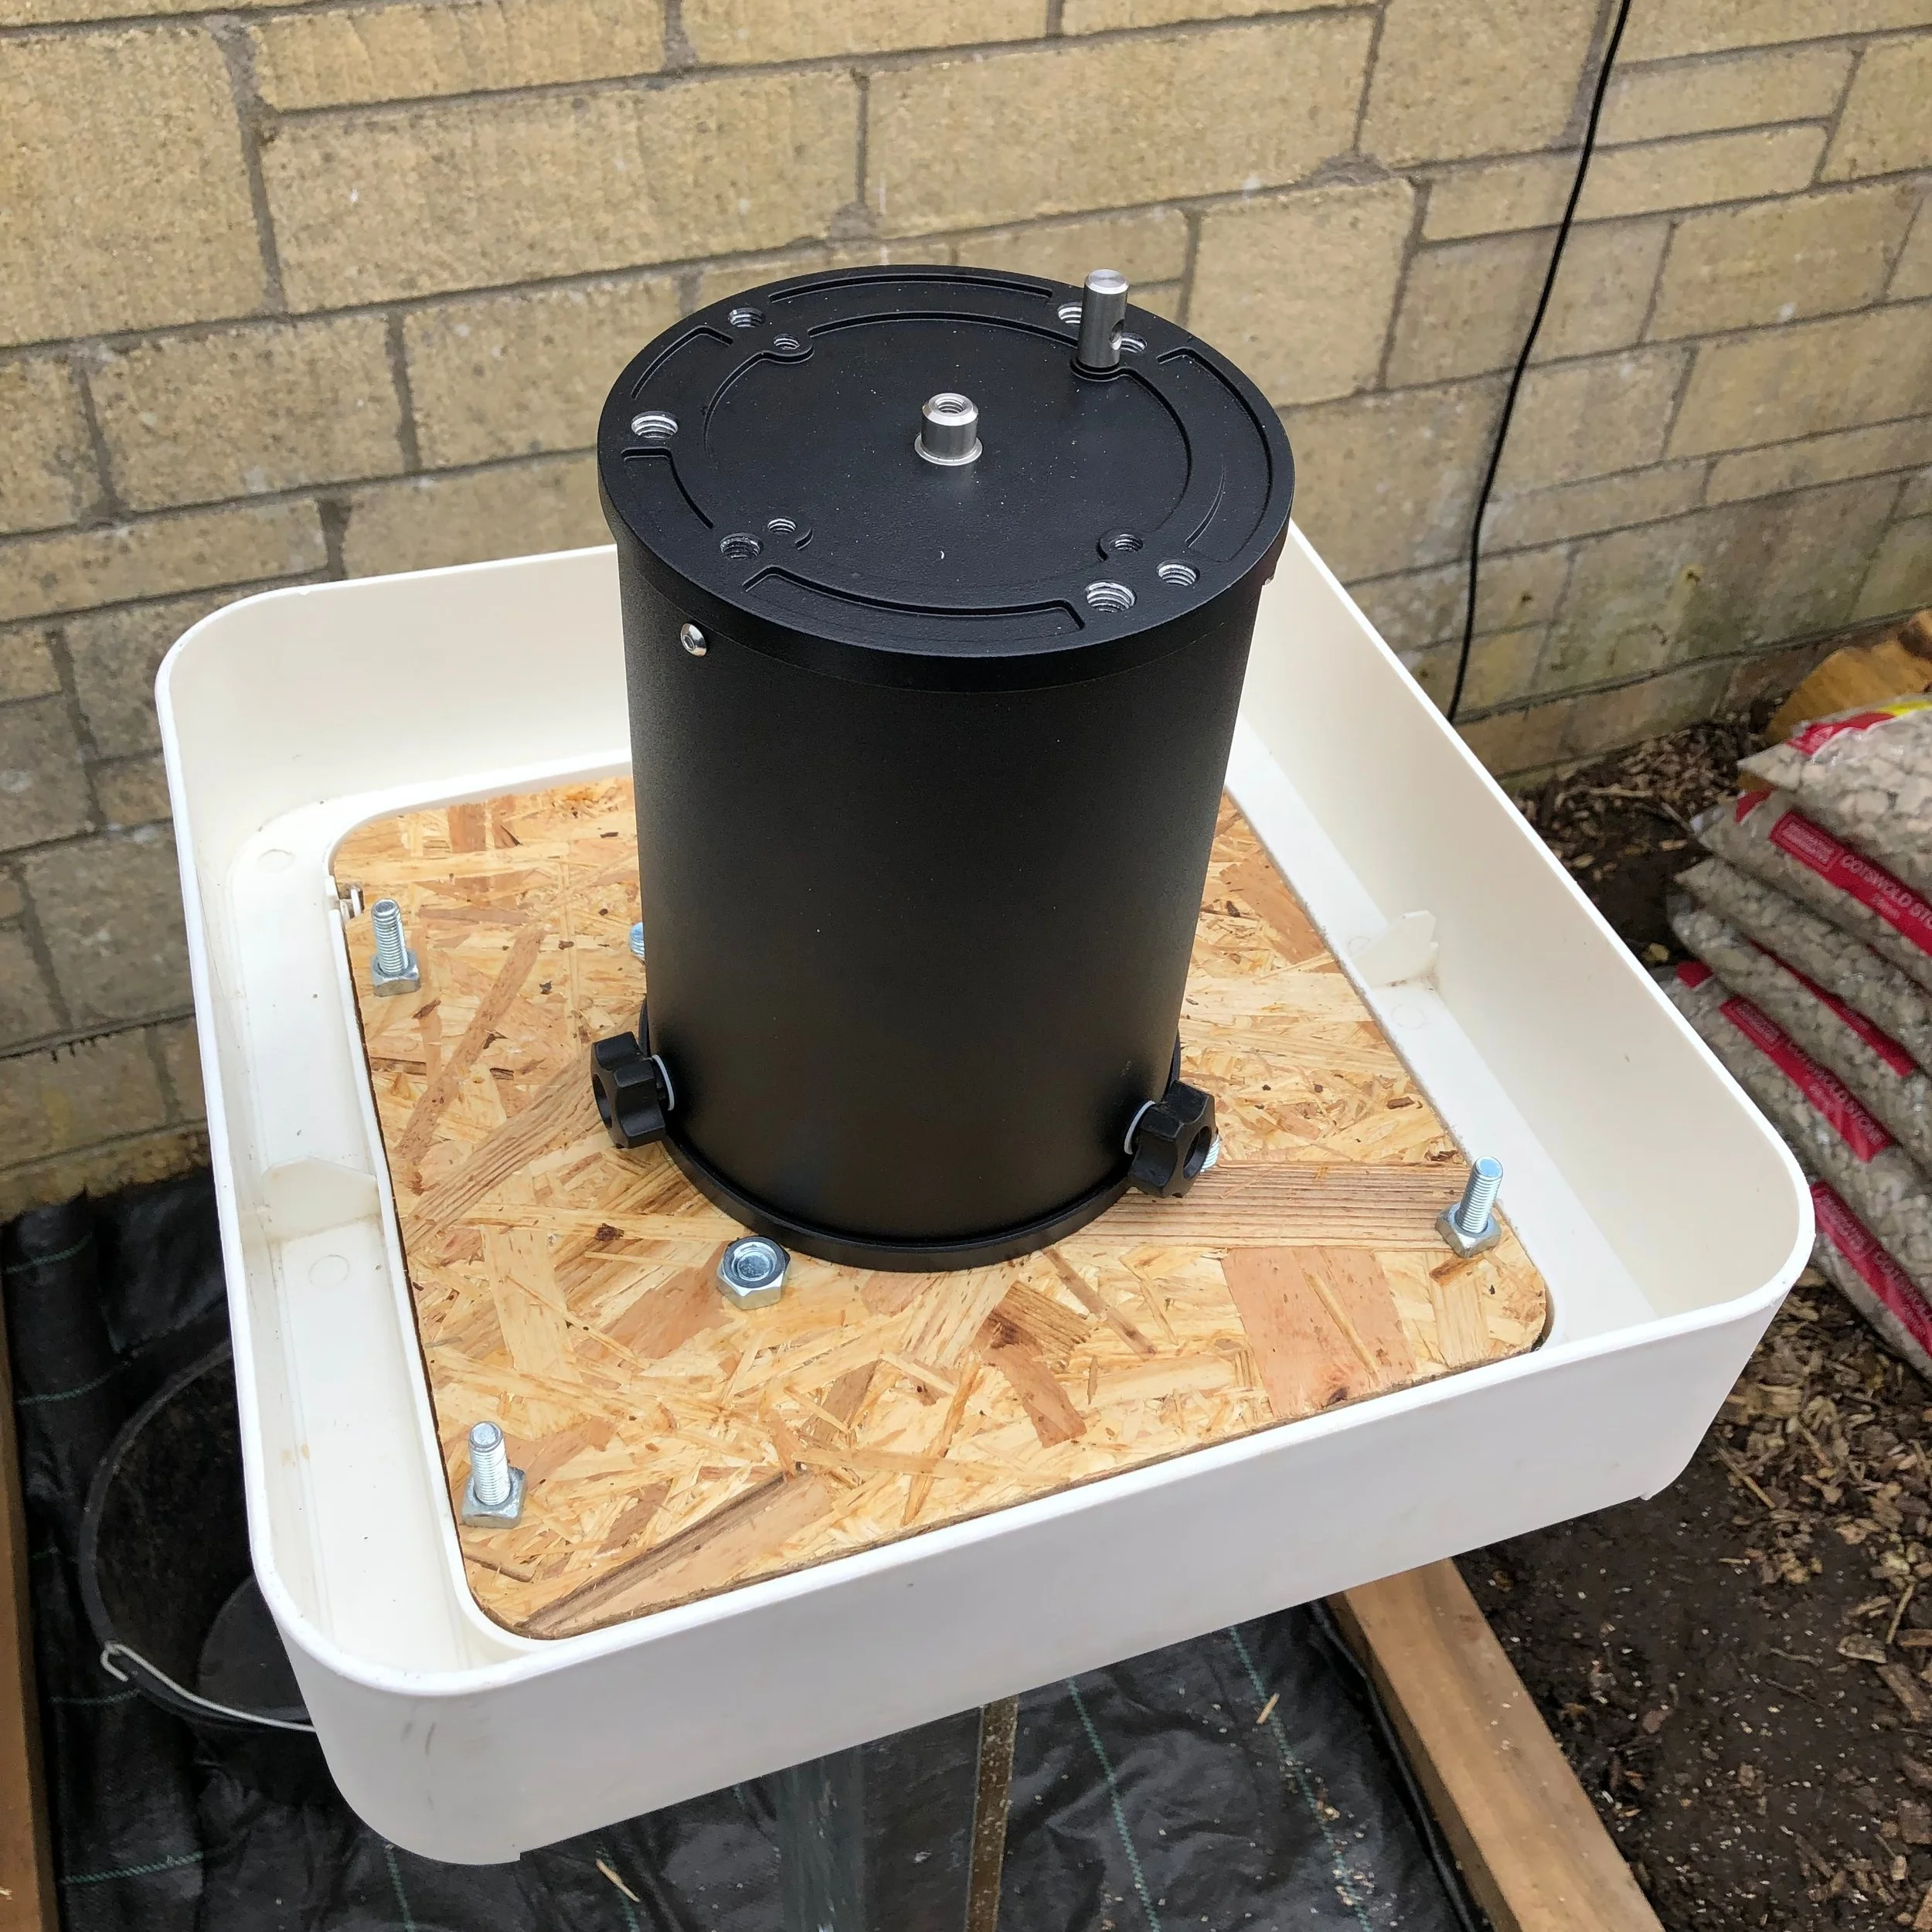
Pointing north
What the mount base had not yet addressed was the need to point north. To assist with this, and to ensure a good mount connection, I indulged in an iOptron mini-pier extension (c.£160). The circular base has bolt fixings onto which a metal tube slots over the top. The top plate has the necessary holes to mount my iEQ30 (along with other iOptron mount heads). Using a compass I aligned it north (knowing there is still a fair bit of adjustment in the mount head too). I think the tube I had was slightly warped and it probably only fitted well in one position making getting the three screws on the side of the tube incredibly difficult to get on. Now they are on, they are never coming off! I hope it’s near enough to north…

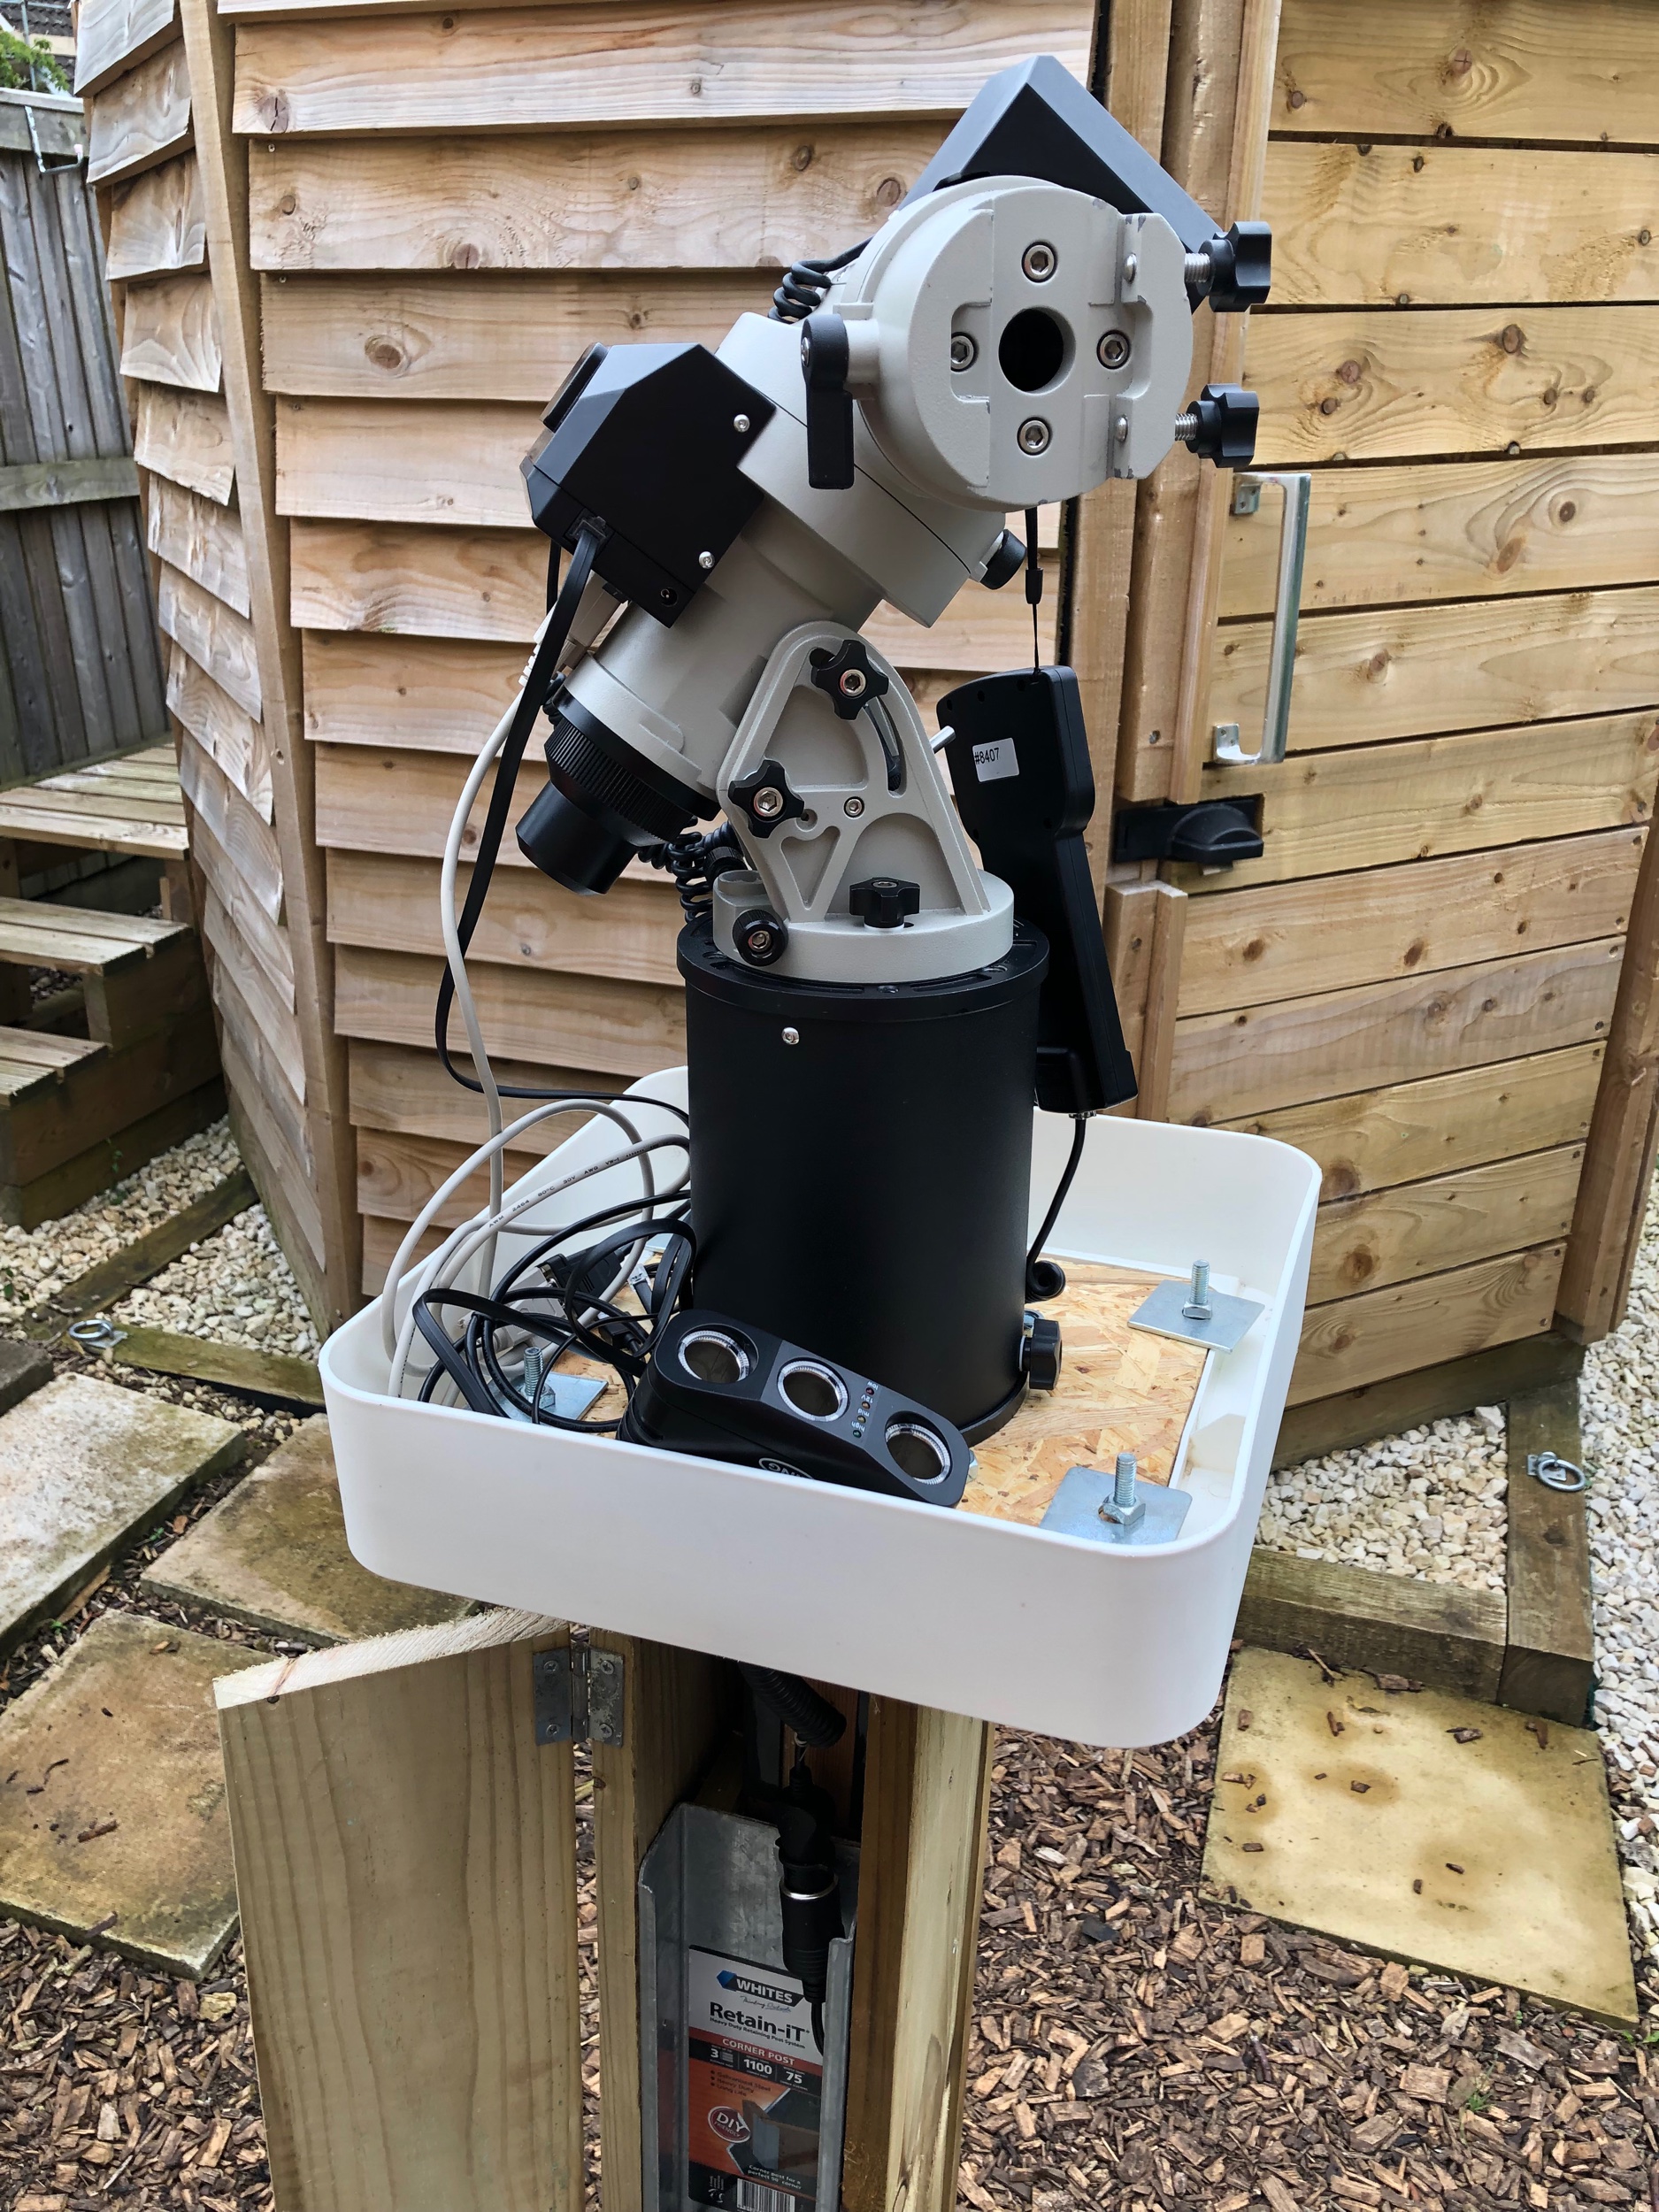
Test for balance and height with small refractor
Power me up
Having a power source to hand will make set-up so much quicker. Being so close to the garage for observing is a shame, but for providing power is a bonus. Back to the DIY store for an £18 external power cover and 4 gang supply, now mounted at low level and fed back to a socket in the house. When I start to use this I will get an RCD on the socket too just in case.

Polar check
I was able to grab a peek through the polar scope on the mount last night to check if Polaris was visible - it was. I’m confident I have enough adjustment in the mount now to enable a good polar alignment. I will do this carefully - hopefully once - to ensure maximum accuracy. I will use a Polemaster linked to a laptop to get the benefit of camera assisted alignment.
Project cost now £288 with the benefit of a few free bits I found and re-used.
First Light!

So last night we had crystal clear skies and I was imaging on two set ups simultaneously - flipping exciting! The BLT was tracking the Sunflower Galaxy M63 and in its shadow, I was testing out the new pier. Its not ‘finished’ by a long way - it needs some cosmetic work - but was structurally complete enough for a test. I loaded up the mount with a small refractor, DSLR and counterweight. I rewired the power supply into an RCD socket and switched it all on…
Once the GPS kicked in on the mount I started a Polemaster polar alignment which worked very smoothly - my rough north alignment of the mount head had plenty of room to find Polaris. I slewed to Regulus in the South and did a one star align. Next I selected my test target: M81 & M82 and the scope went straight to it with only minor framing adjustment needed - bingo! I wasn’t guiding so I ran off a stack of 1min exposures which I hope to process tonight.
How did it perform?
Pretty well - it is NOT rock solid I’ll admit - so having touched the camera it needs a few seconds to settle any vibrations, much like a regular tripod. If you give it a nudge there is certainly some spring which I may be able to stiffen up with a few ties at low level [now done - see June 2019 below]. However, given its sheltered location between the garage and the BLT, wind should not be an issue and once tracking it seemed well-balanced and stable. The proof will be in the images of course. I will look at refining the set-up to run to minimise the weight - maybe OAG rather than guide scope? Lots of opportunities for fine tuning and improving set-up speed too. So far so good!

Stack of 30x 60sec exposures with Dark, Flat and Bias calibration frames processed in DSS, tweaked in Adobe LR & PS
It look me most of the weekend to remember how to use Deep Sky Stacker for DSLR rather than CMOS…but eventually got an image processed, above. Not the greatest image, but as a test for the pier’s stability, I’m pretty happy with the star shapes. Remind me what a huge step forward the CMOS is for noise quality compared to my unmodified DSLR. I think I will still try a some bracing to the pier (without introducing a trip hazard) but overall its probably as good as I ever achieved with the DSLR on the mount’s standard tripod.

Gravel and paving slabs complete the base

Mount in Park position fits snuggly inside the bin cover
Cost update: additional £10 for the RCD, 4 pavings slabs for the base and gravel…project total £310
Cosmetic Improvements

June 2019 - clad three sides of the pier (BLT offcuts)

Hinged side panel with access to power supply riser

Power feed from wall socket, under slabs, to hinged panel
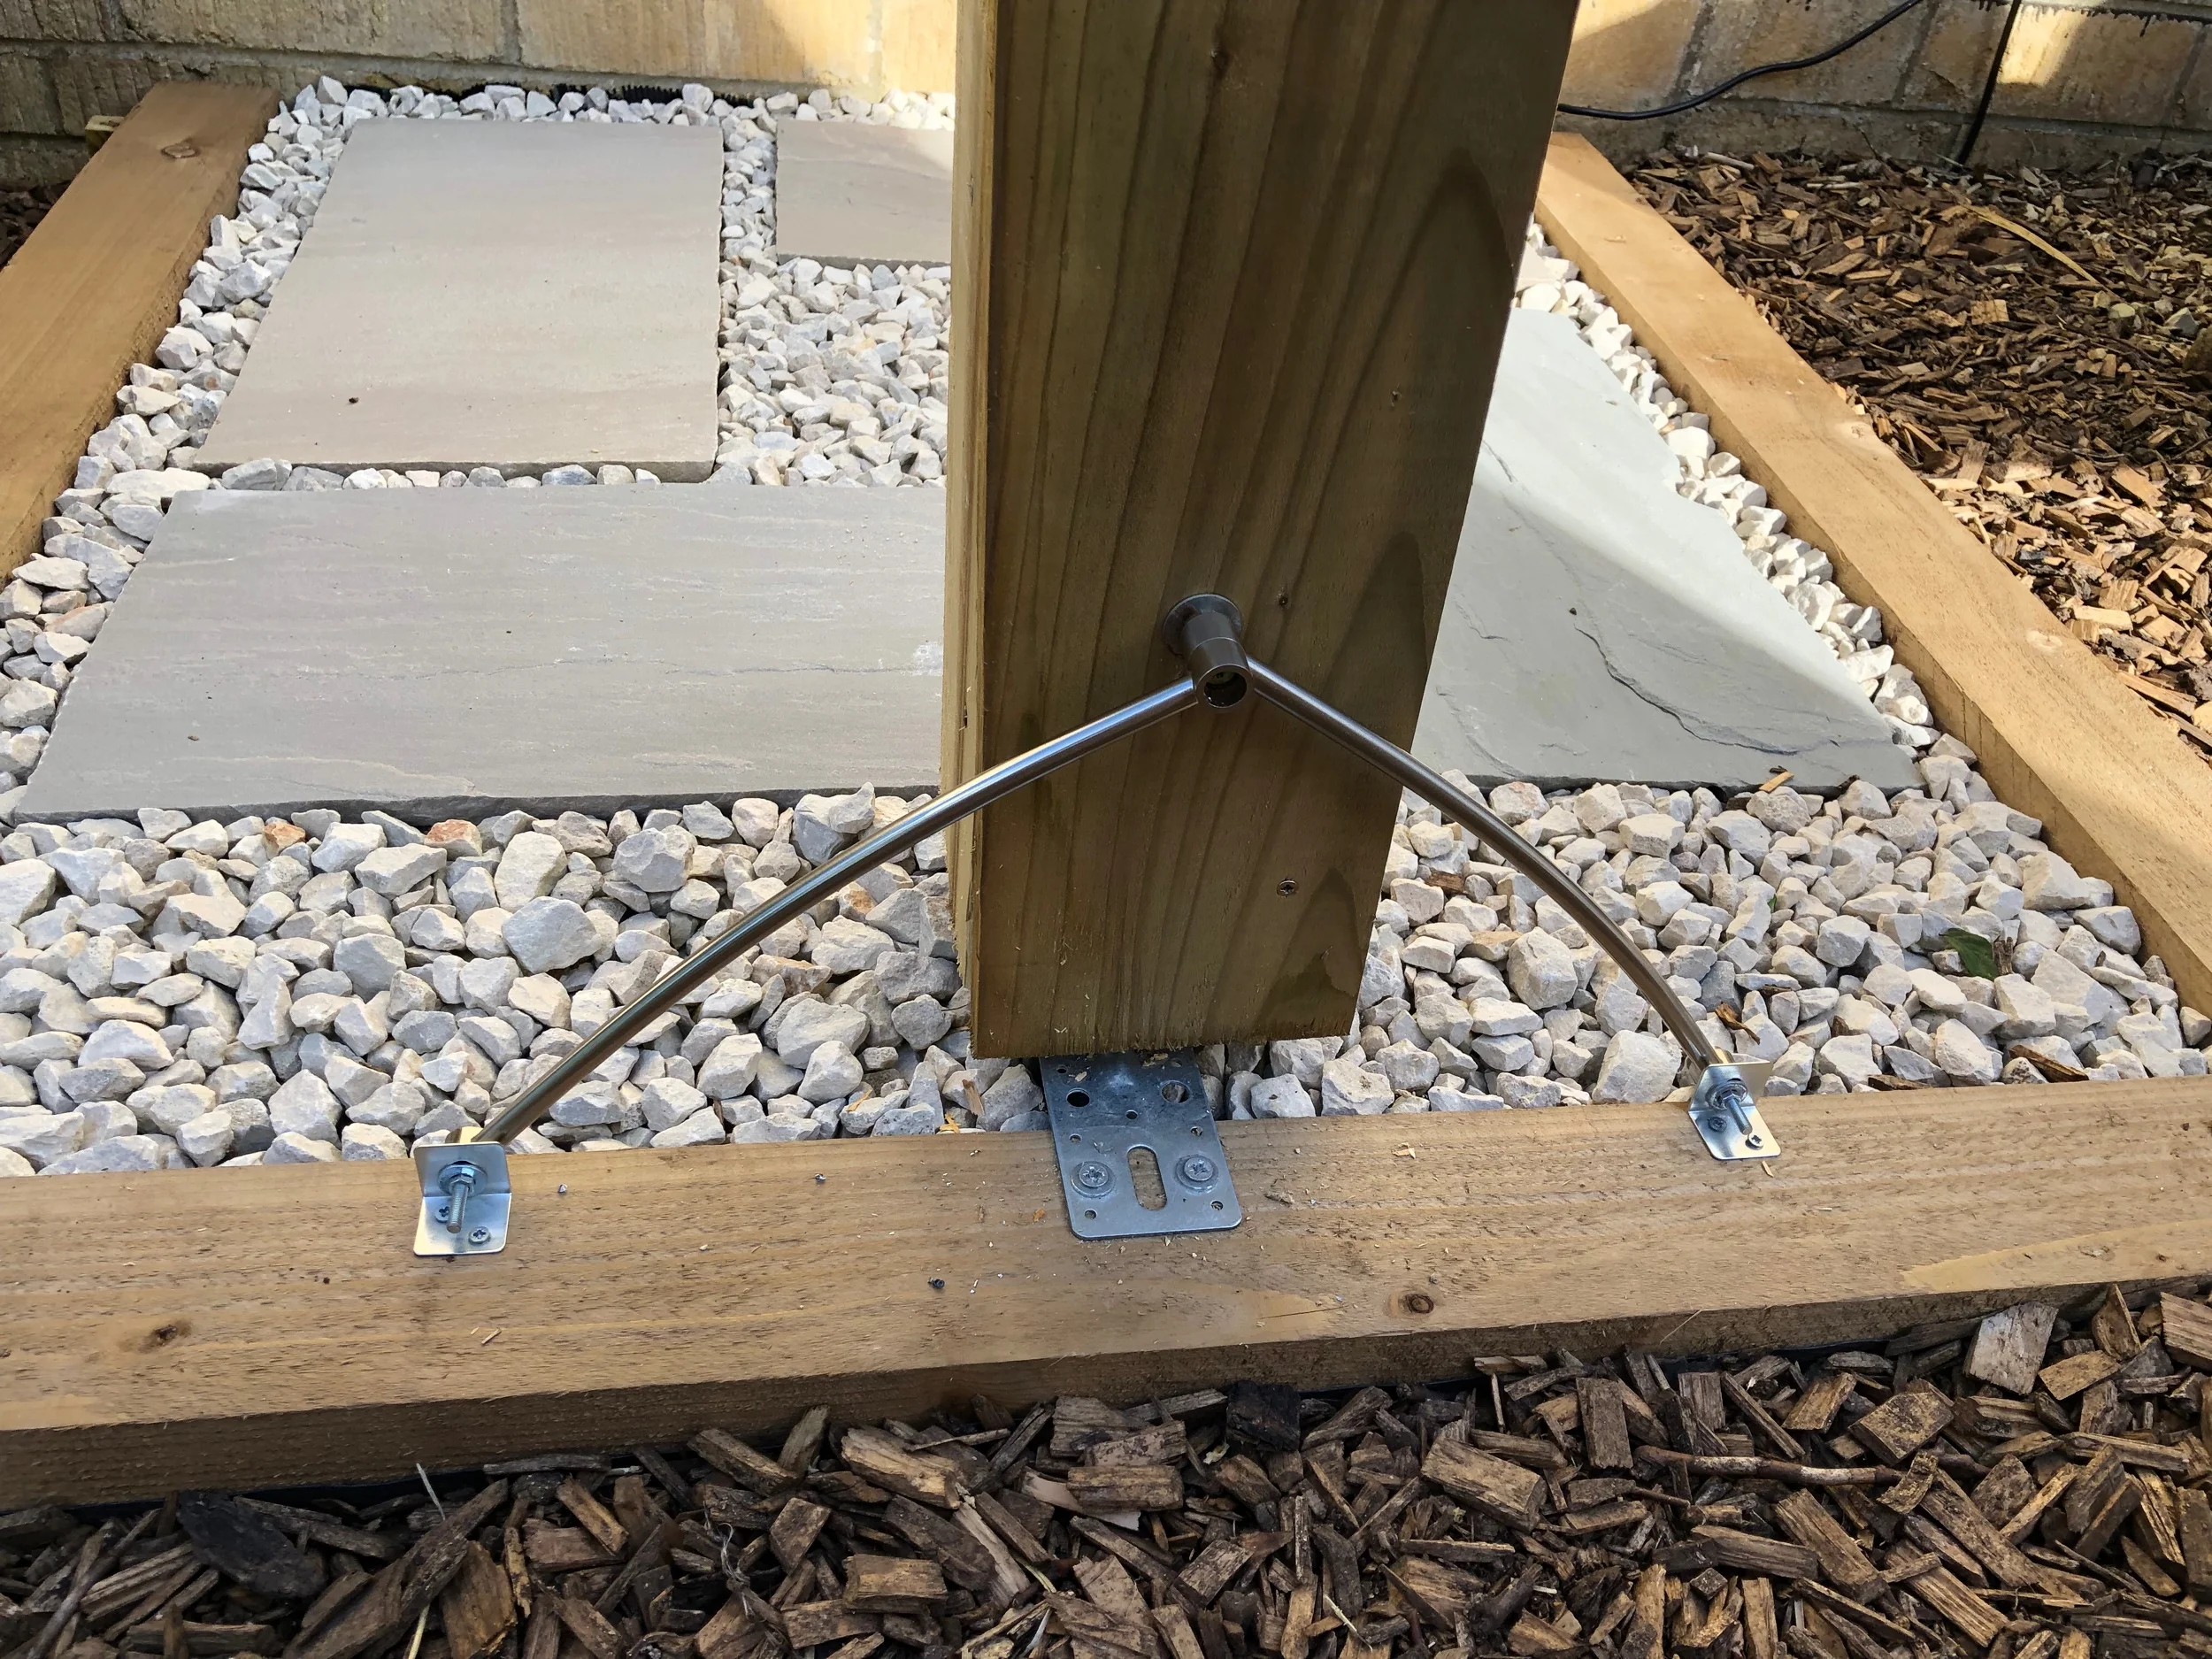
Stainless steel braces - repurposed from an old table lamp
Power feed to a three-way 12v splitter
Heat shield - July 2019
With all the hot weather we’ve had through late June / early July, I got concerned that the mount’s electronics might get cooked inside the upturned bin. To remedy this, I spent £20 on some 4mm heat reflecting insulation which I wrapped around the lid. I also took this opportunity to incorporate a security chain which hooks underneath, secured with a padlock.

4mm heat reflective insulation
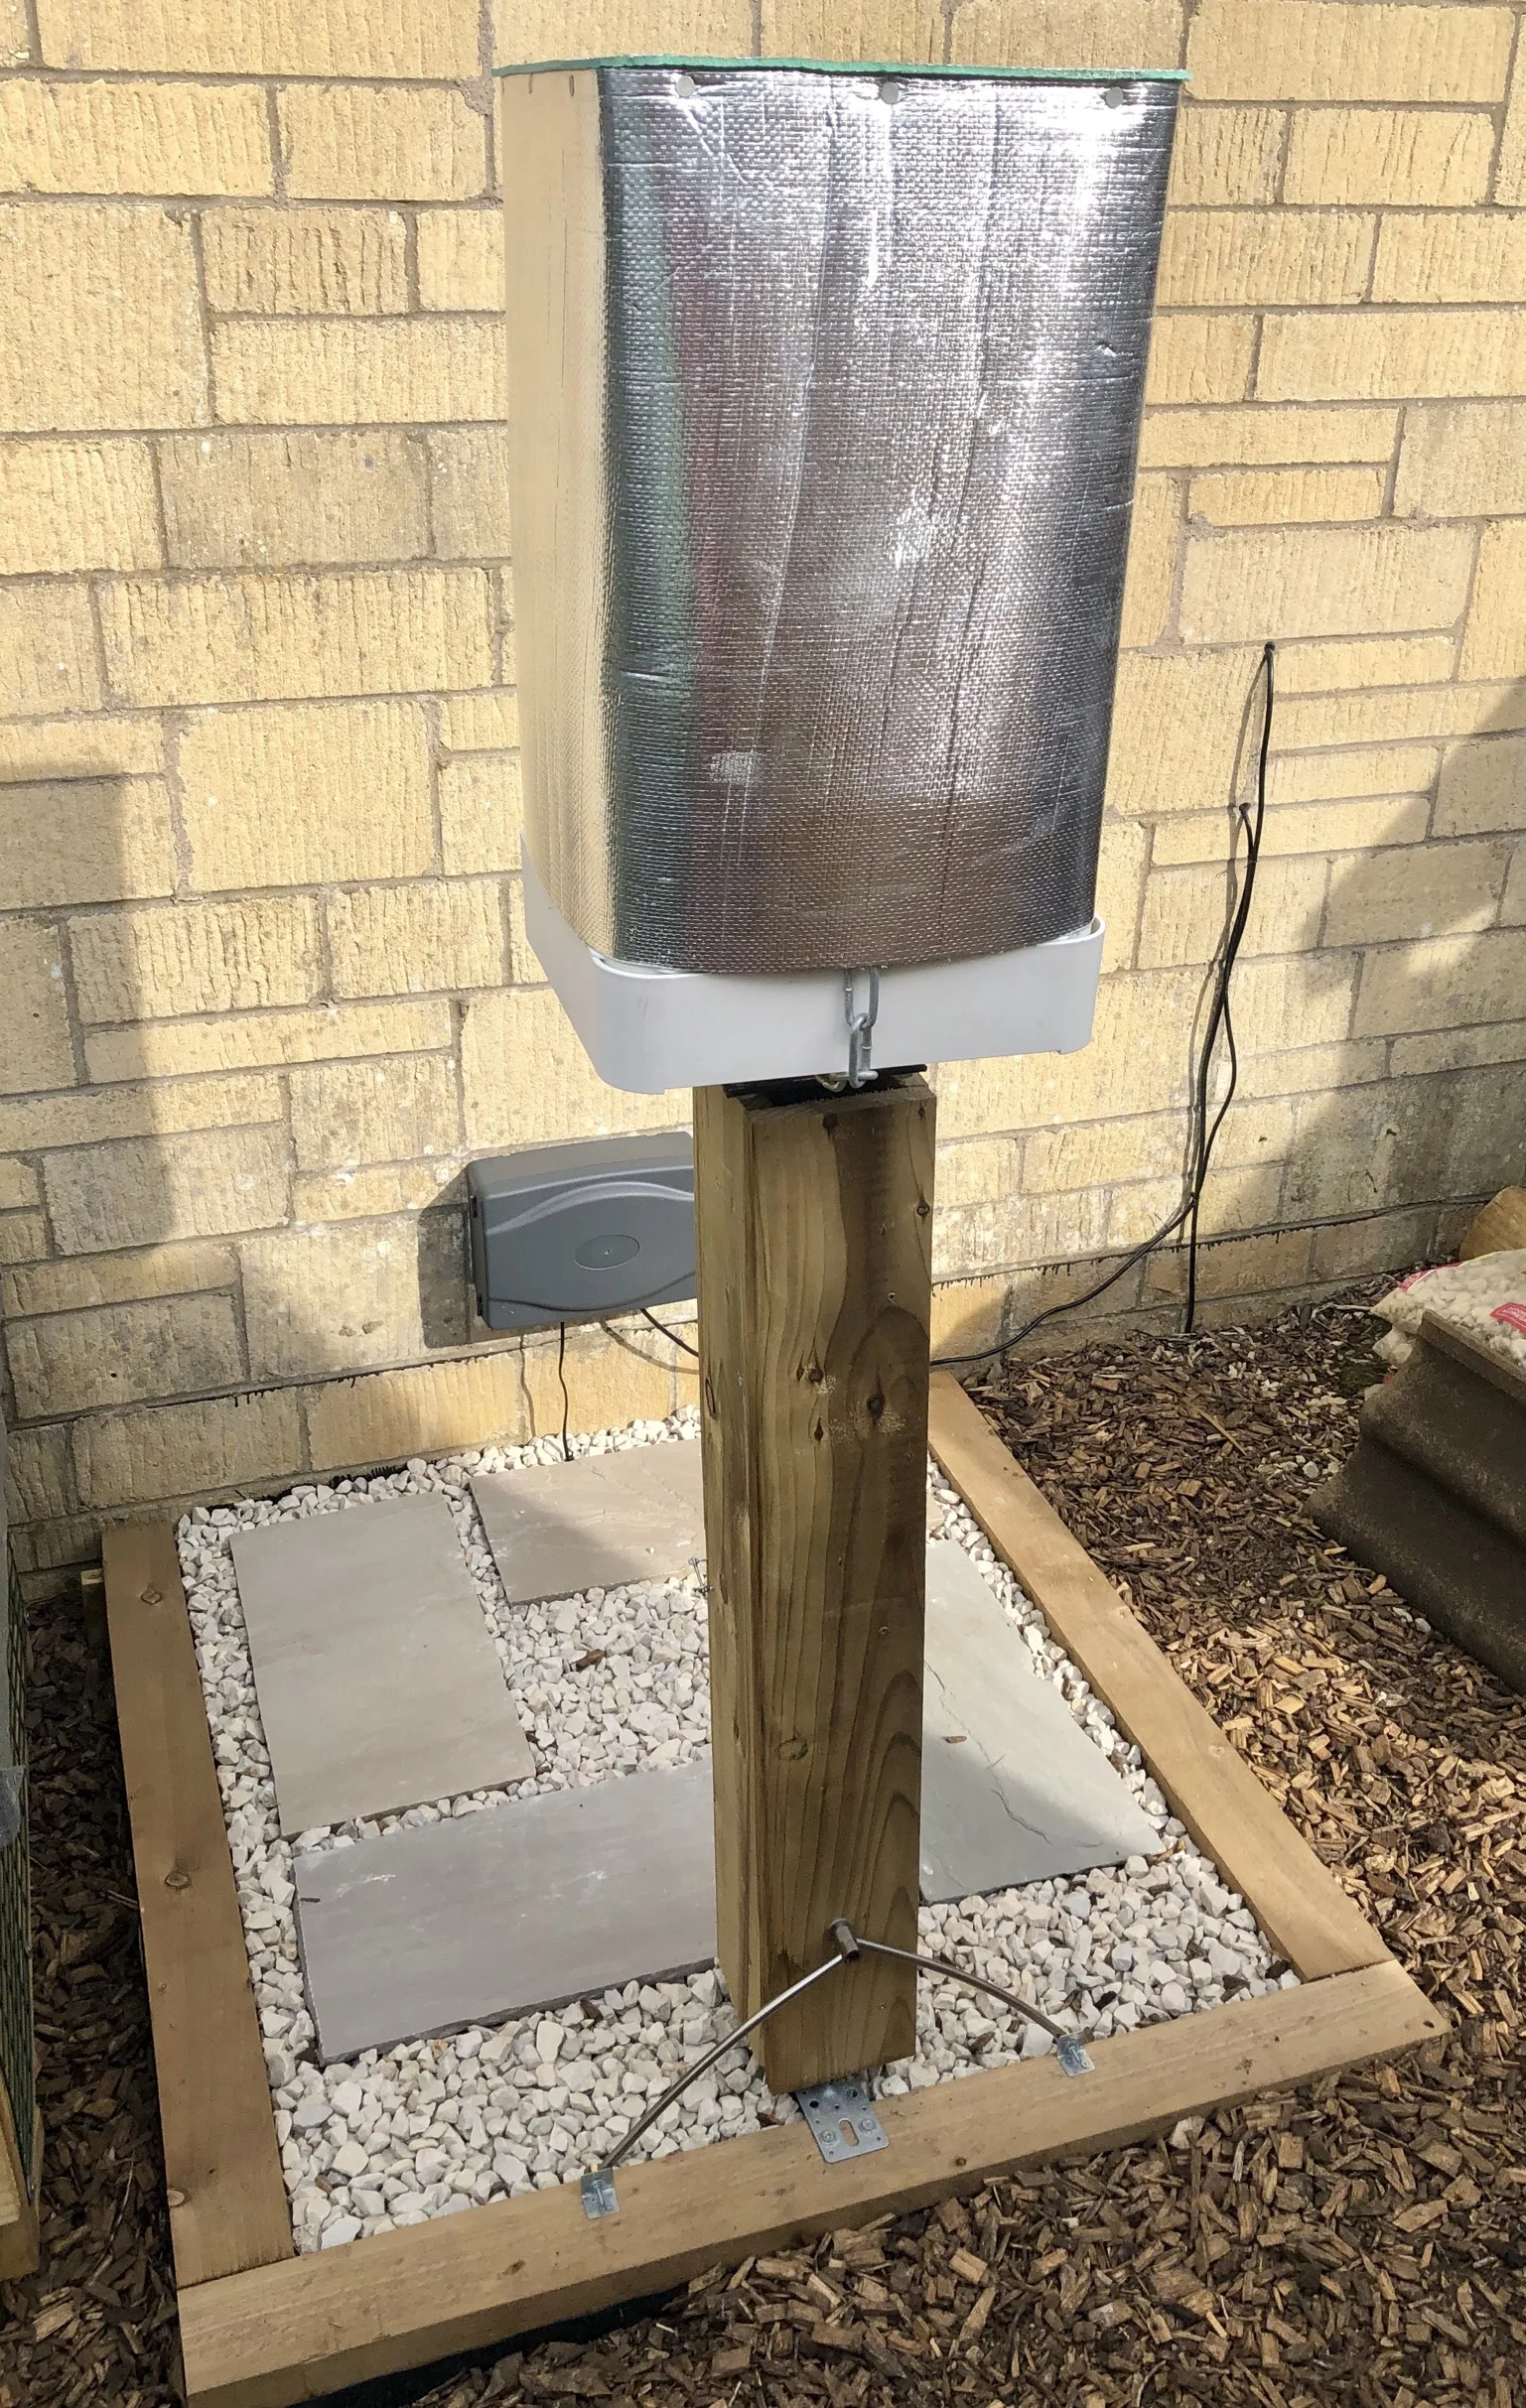
Heat reflective covering

And here with rain cover
Completion
I think I’m going to call this complete. Final cost tally is £331 (£310 + £20 insulation roll + £1 for two hooks to secure the hinges doors closed). No doubt I’ll continue to tinker but I have a pier that is permanent, relatively solid (as much as a decent tripod), powered, secure and weather proof. This should mean I get get it up and running quicker than setting up from scratch. When I get some imaging done, I’ll be sure to post them here.
Pier Gallery

Success! 3-pane mosaic comprised of unguided 60sec subs from the pier position
Guided subs
Here are three subs with guiding. I never had great success guiding with my iEQ30 before, which I put down to me entirely. These shows that long guided exposure are possible and the pier is doing its job. #solid
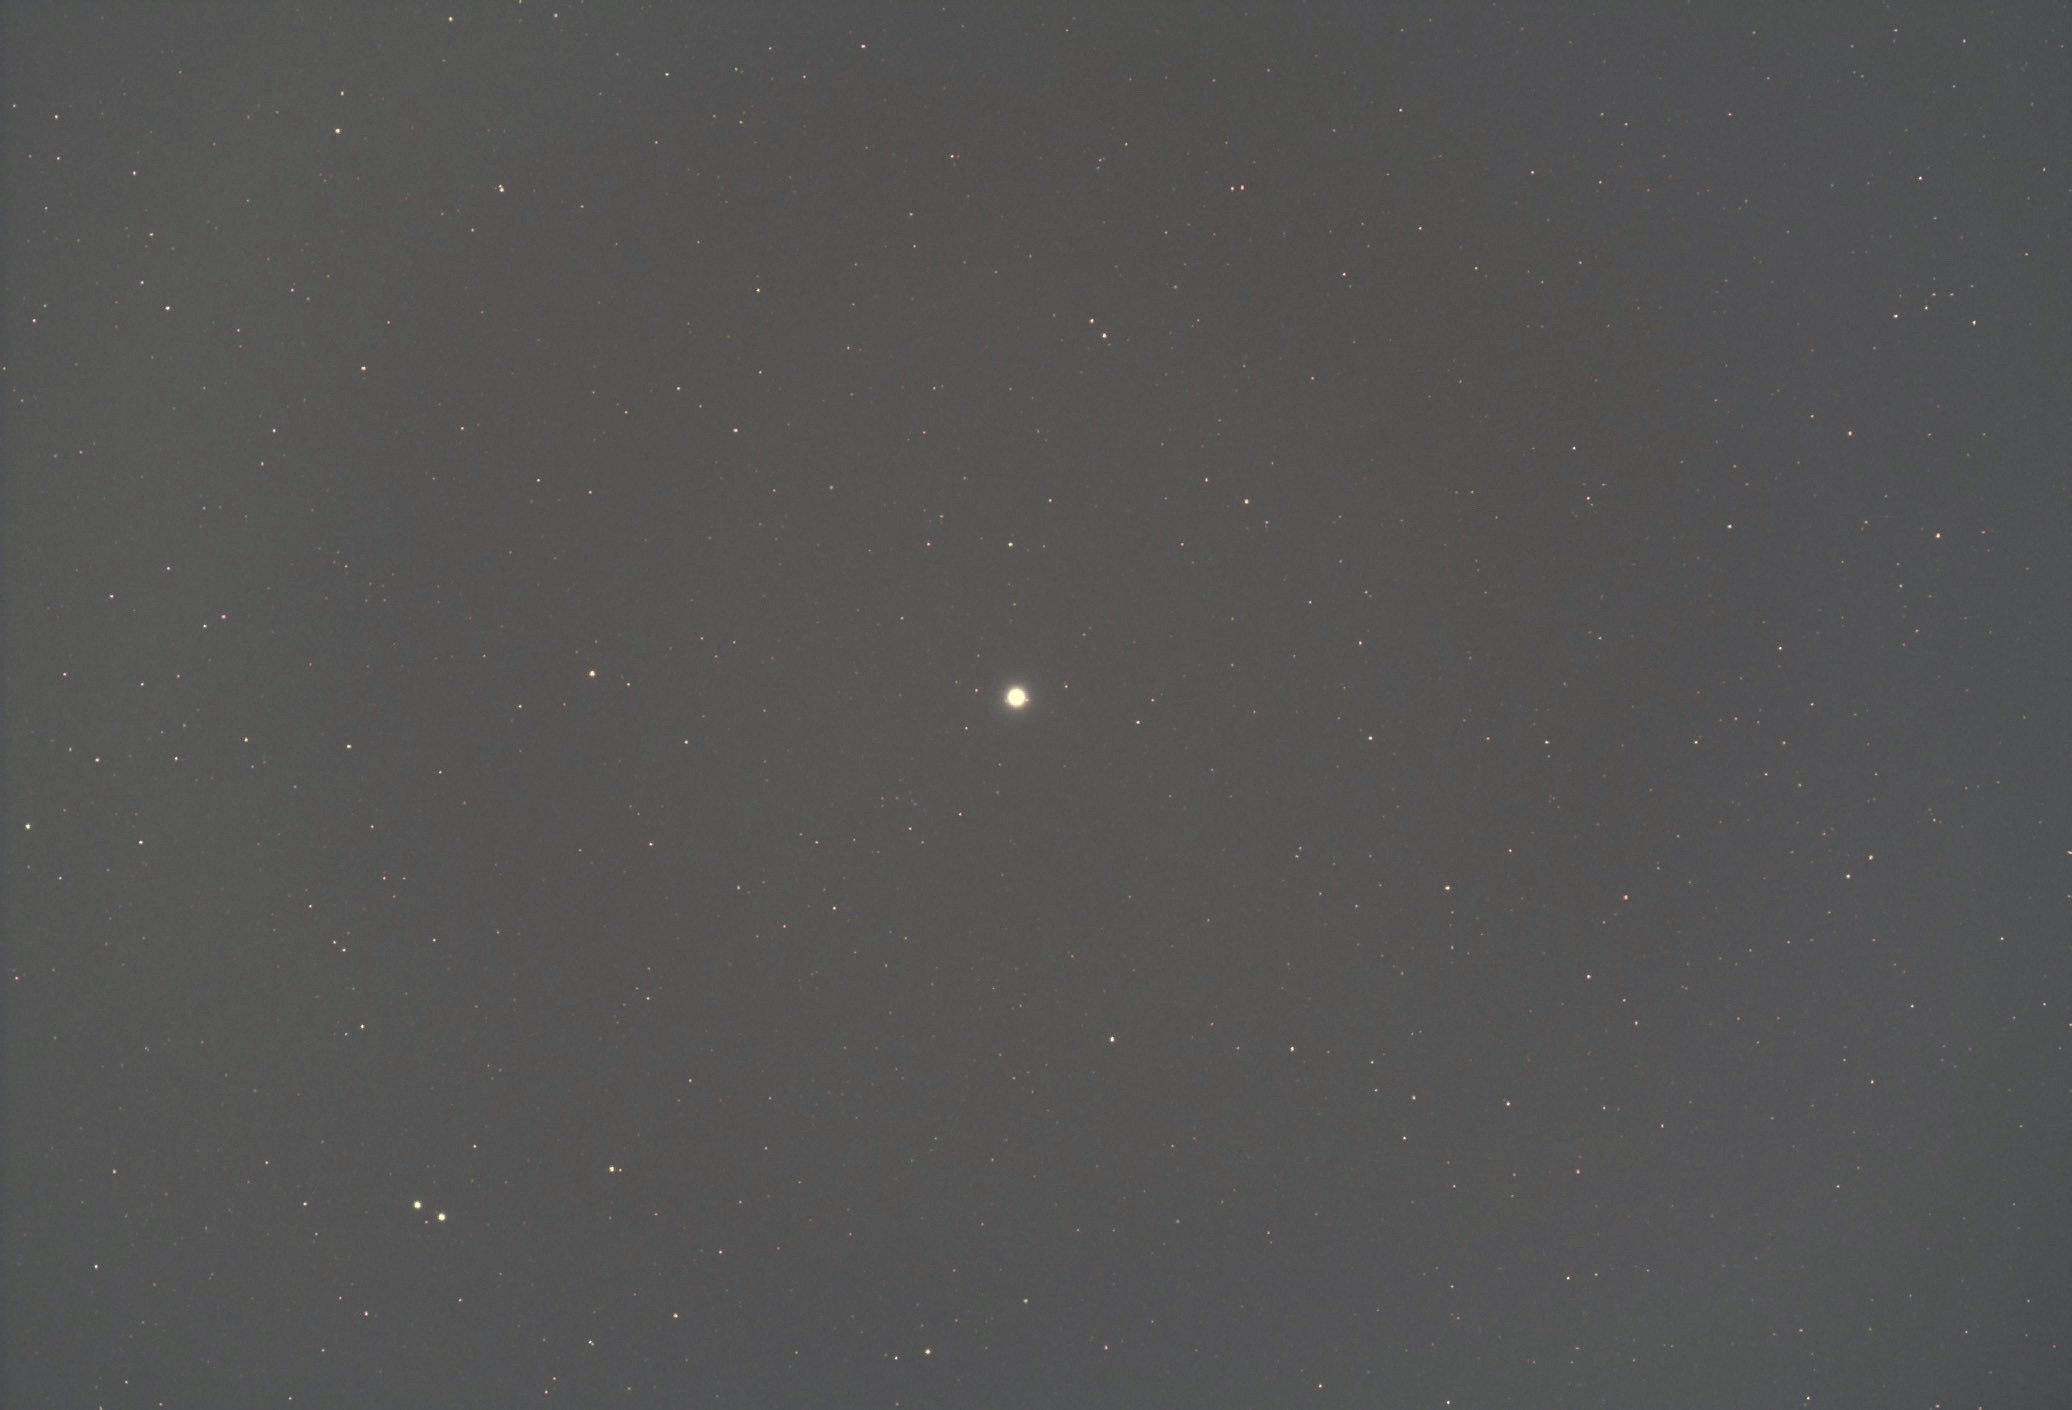
60sec guided uncalibrated sub of Vega edited on iPhone

120sec guided uncalibrated sub of Vega, edited on iPhone

600sec guided uncalibrated sub of NGC7000 edited on iPhone.

Here’s how this stack turned out. I went back and added Ha OIII data - see my post about narrowband.

Oct 2019: practising for the Transit of Mercury next month with a solar filter on my small refractor +2x barlow

M45 The Pleiades. Stack of tracked images from the pier, January 2020
Update March 2020…
The pier has really come into its own since I bought a secondhand Mak-Cass. This scope delivers a greater focal length than my RC, but is much smaller and lighter. In fact, it has been the perfect match for the pier, offering me views that I cannot get from the BLT. It pushes the weight limit without tipping over the edge.
I have yet to try this set up for a deep sky object, which will be a challenge due to the need for guiding and the understandable wobble that a low-cost pier might have at these focal lengths.
Moon detail from a three pane mosaic taken from the pier with the OMC-140